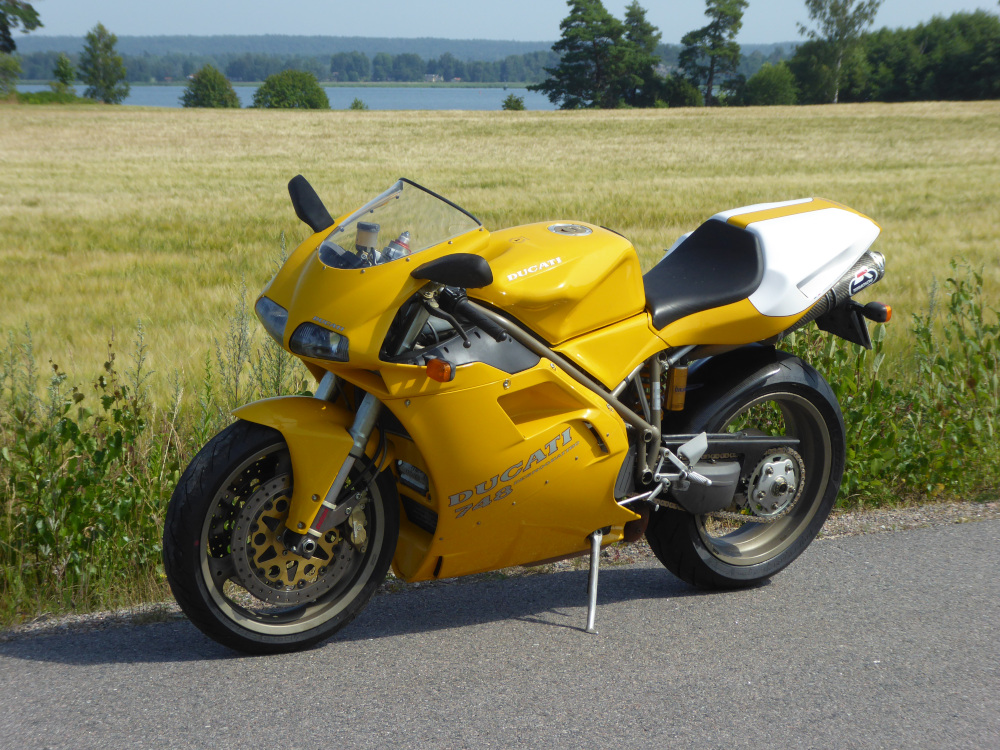
Project Ducati 748 SP 1995
About Ducati 748 SP
The Ducati 748 was introduced in 1995. It was a smaller edition of the design icon Ducati 916 that came the year before. Due to a fire in the Ducati factory, 916 had to be produced in the Cagiva factory in Varese (formerly HD-Aermacchi and now MV Agusta) during the first year. In 1995 the production was back at Ducati in Bologna and the new 748 was praised by the press.
The 916 had already won the Superbike World Championship in 1994 and the 748 was produced to compete in the smaller class Supersport. The Ducati 748 Sport Production was developed, as the name suggests, with a higher specification for homologation in the class and six hundred bikes were produced in the first year, which was probably the minimum number to get it approved. It paid off as it won the class later in the year and in the next two years.
So what is the difference between a Ducati 748 Biposto and a 748 SP?
Camshafts with longer duration, where most of the SP's extra power comes from.
- High compression pistons fitted as standard.
- High-strength steel connecting rods that allow higher revs for racing.
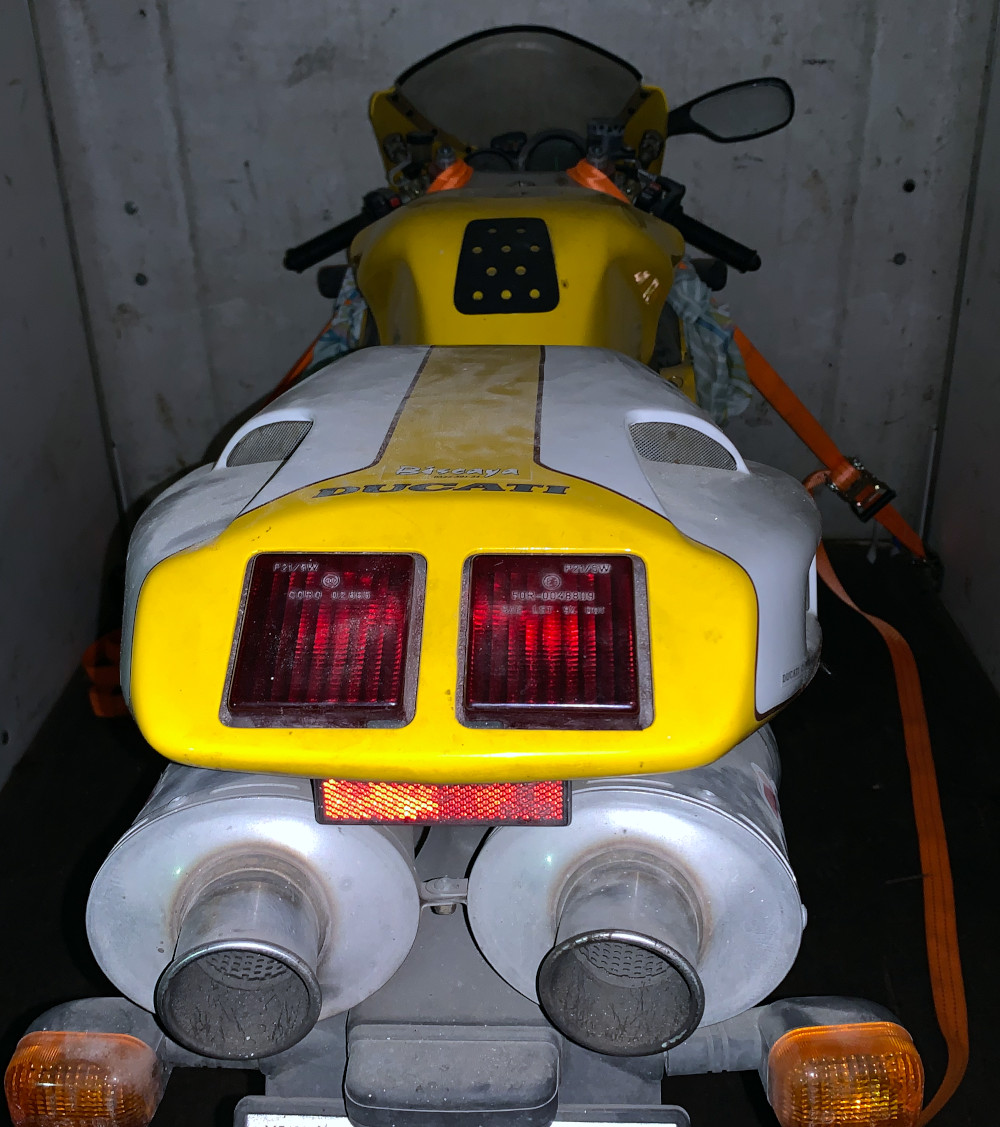
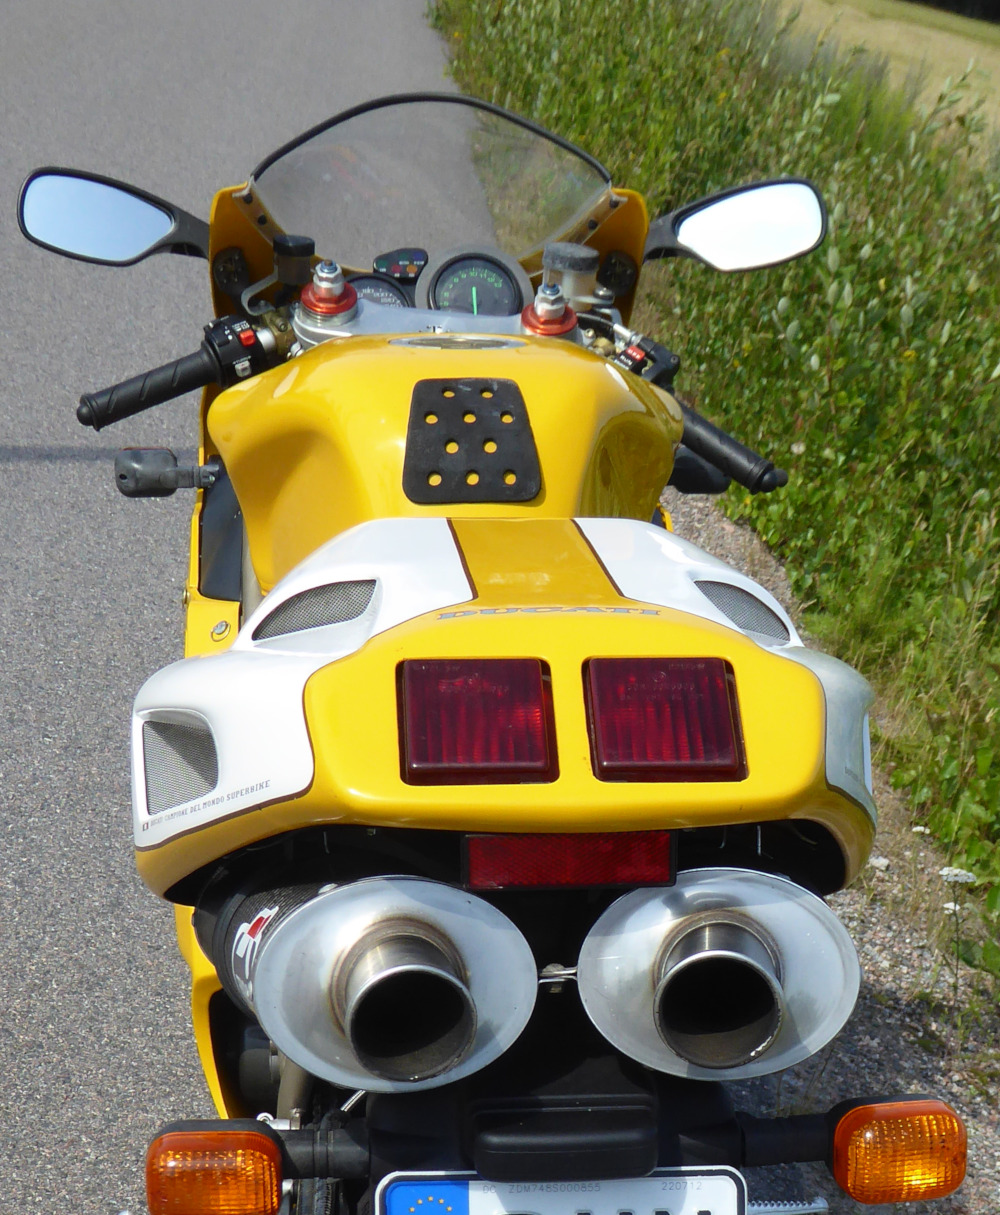
- Rear frame in aluminum with a single seat.
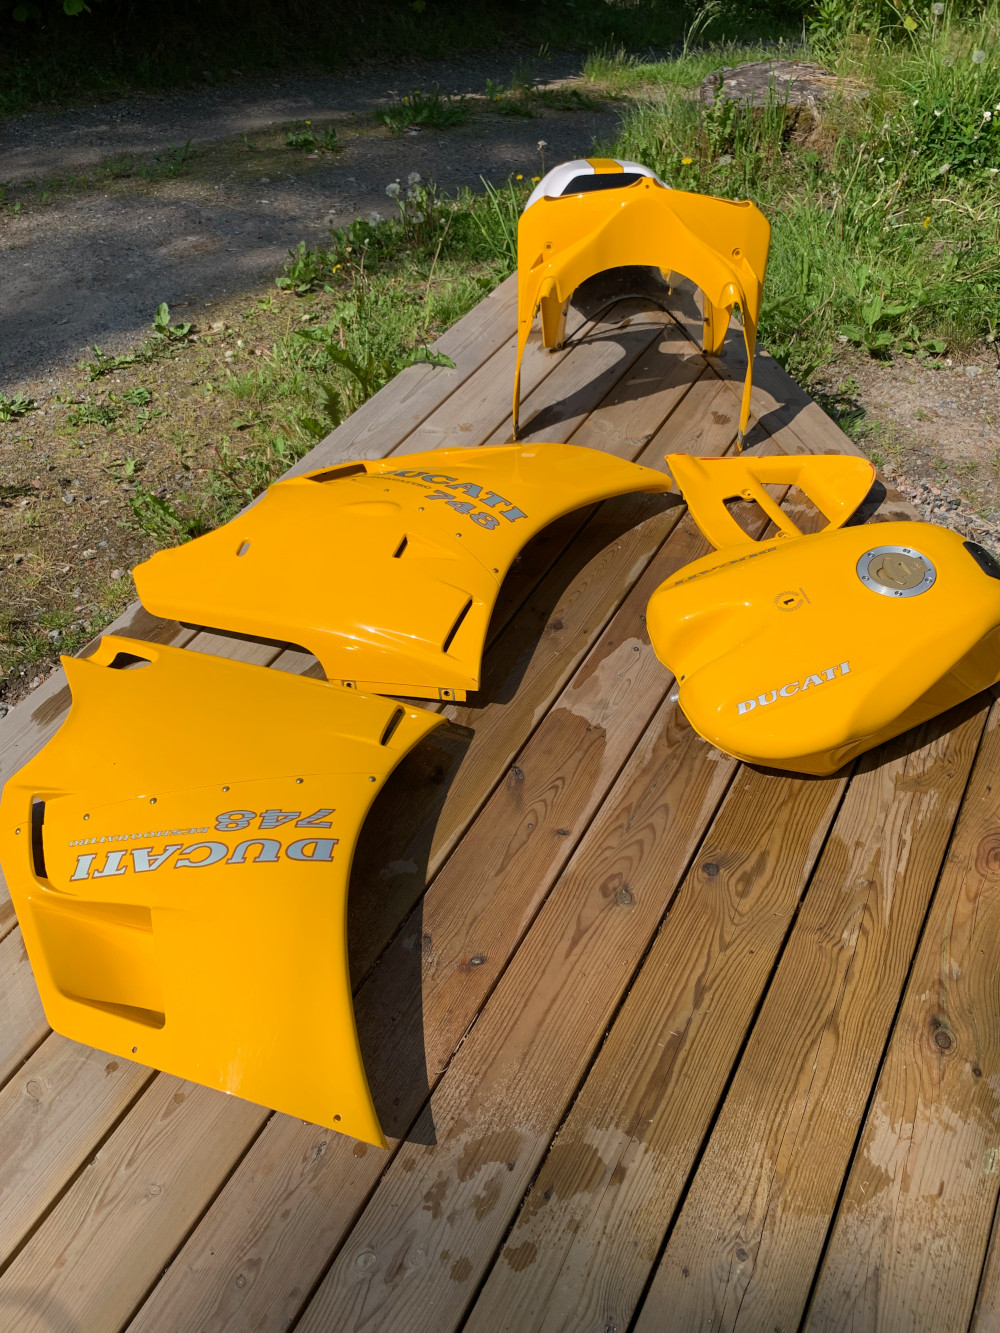
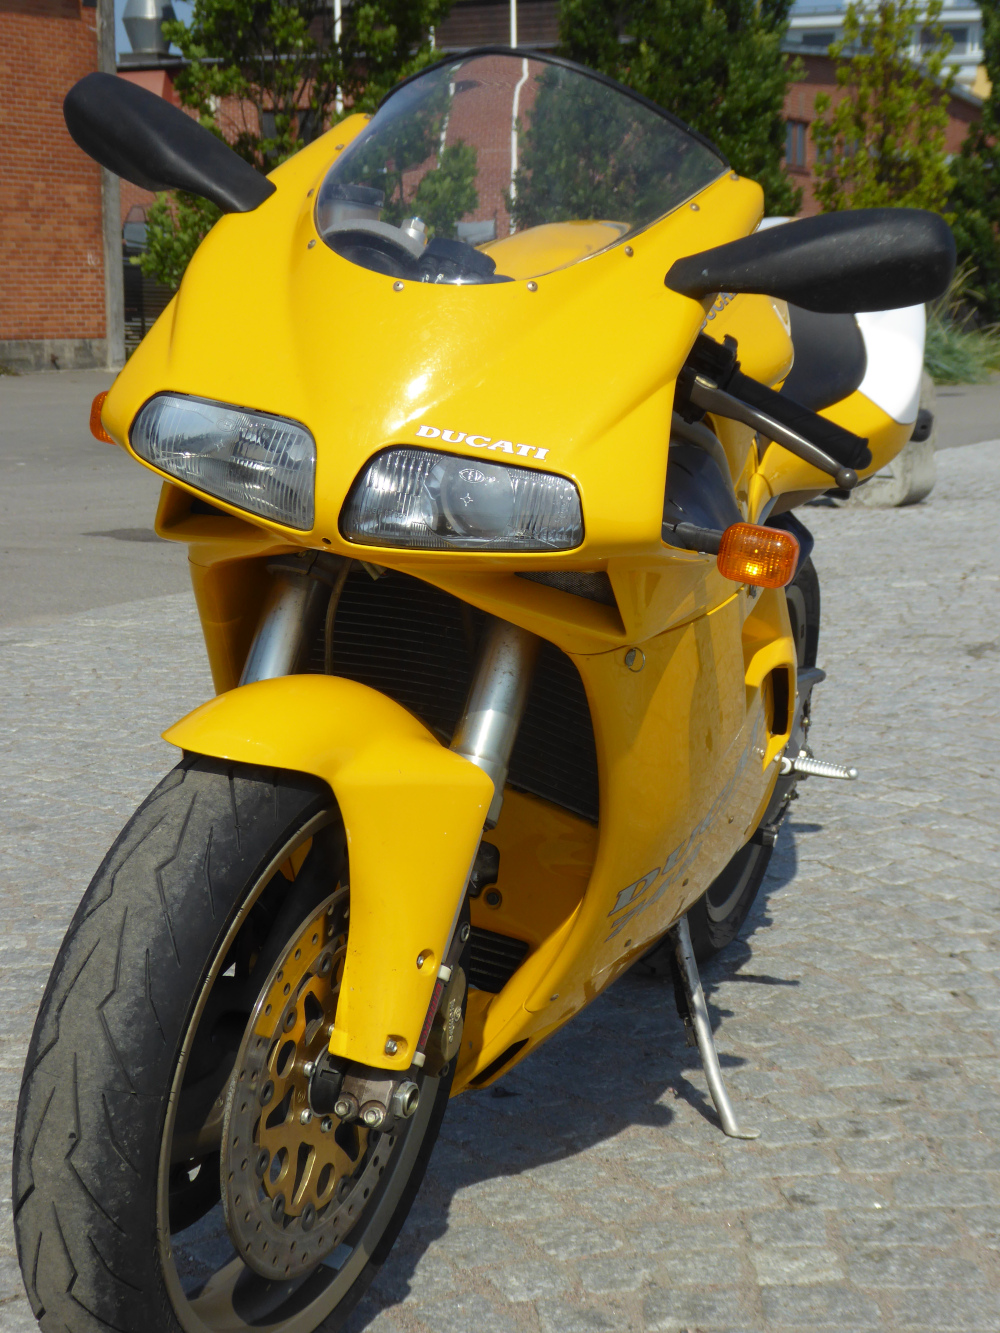
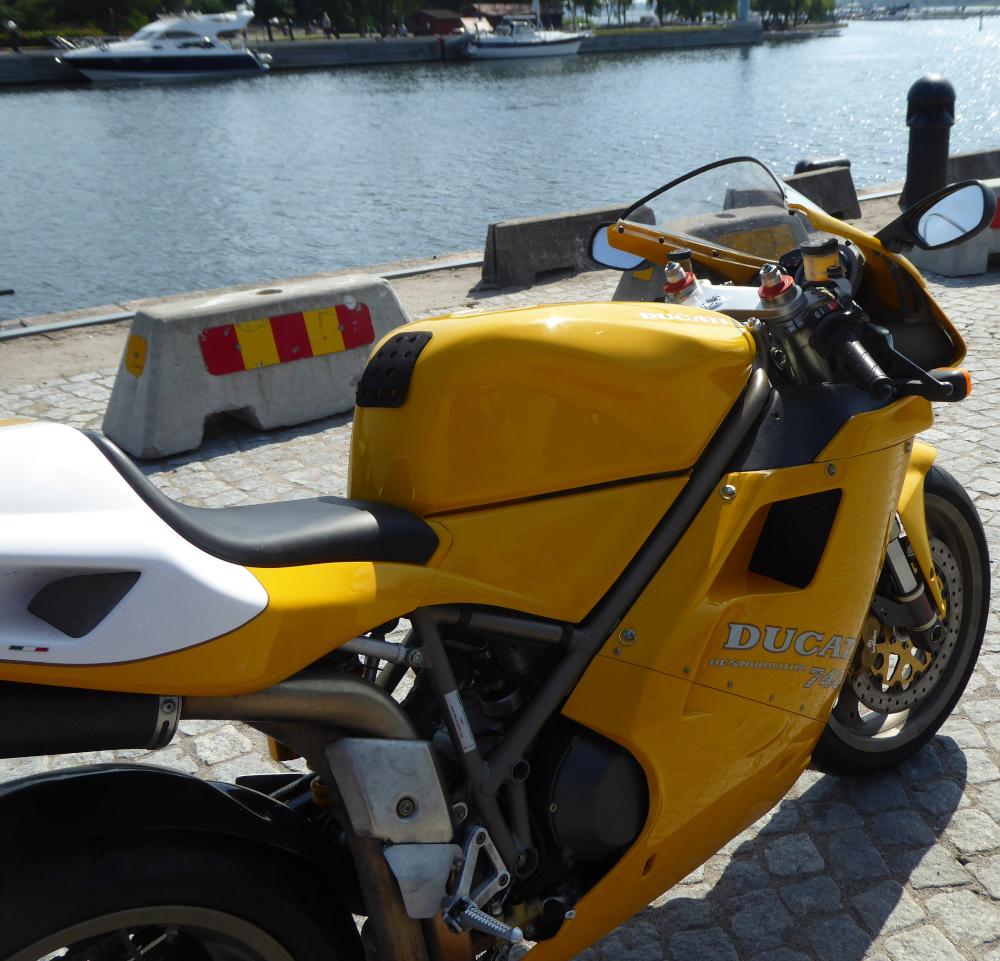
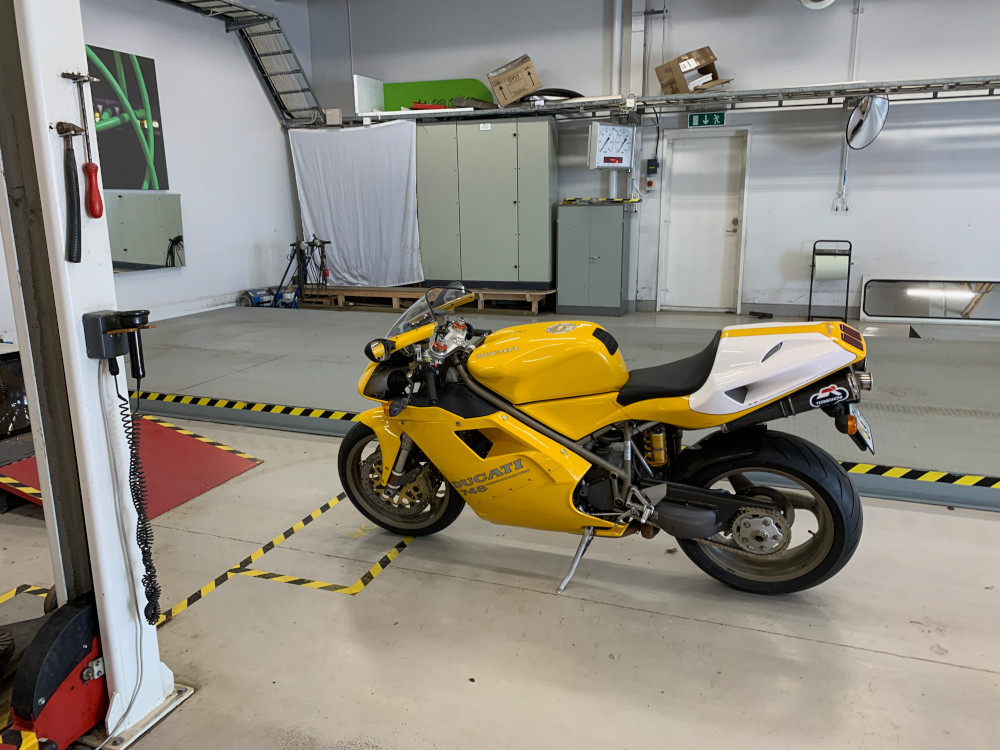
- Only available in yellow
- Brembo floating brake discs in cast iron, front.
Öhlins rear shock
Chain guard and rear fender in carbon
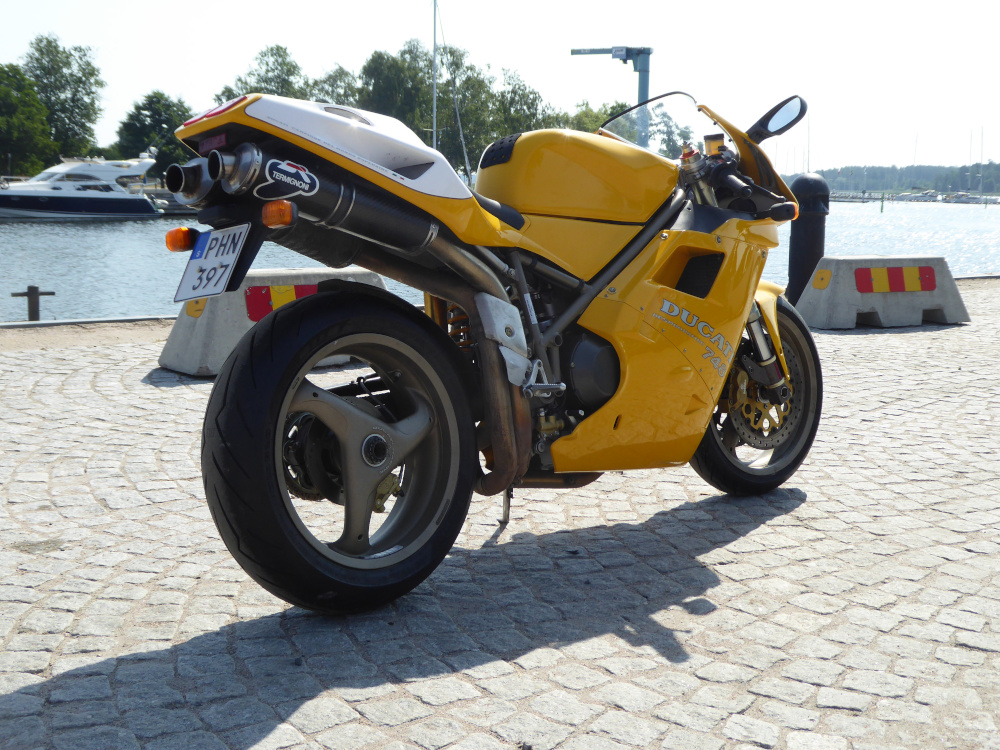
- Delivered with two different exhaust systems. A 45 mm standard exhaust system and one with 45-50 mm link pipe (without baffles) and 50 mm carbon fiber Termignoni mufflers.
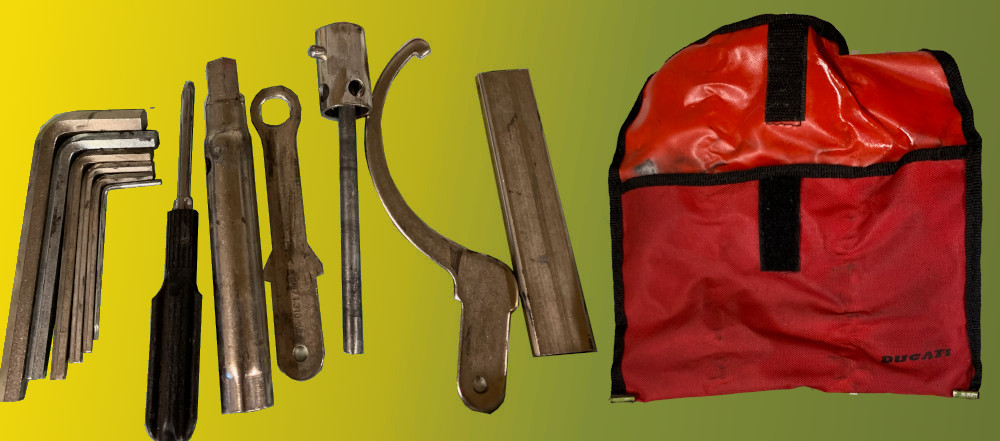
- Delivered with yellow motorcycle cover and a rear wheel stand.
Since many were rebuilt for racing, there are probably not that many 748 SP left in original condition. Therefore, it was extra fun to get this bike running as the bike was in one hundred percent original condition. A colleague had it stored in a garage since he inherited it from his brother who tragically died in a motorbike/moose accident (but not with this bike).
Condition
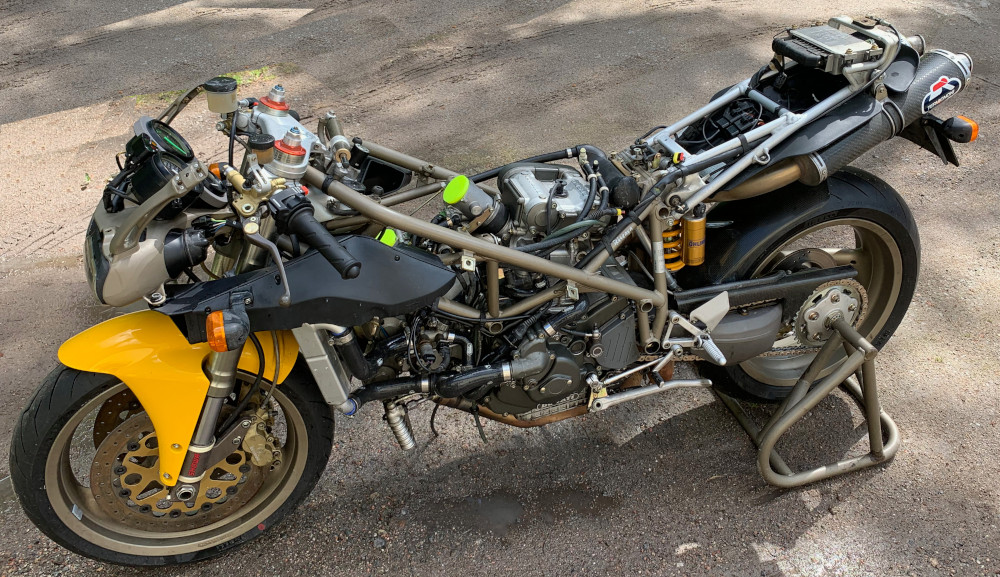
One dark evening in November I went to Södertälje (south of Stockholm) with a trailer to pick up the beauty. I had no idea what it looked like but had placed a bid that was accepted. Inside a garage, she stood with an old Honda and a Ducati Pantah in parts. It was difficult to determine the condition. It seemed like a thick layer of twenty-two-year-old dust had been sucked into the paint. Everything seemed to exist. The rear wheel stand was still wrapped in bubble wrap plastic from the factory! Once home, a first wash was done and the bike actually looked quite good. Now it was time to check what had to be done.
The restoration
What do you do with a Ducati that has been stored for more than twenty years without being started? I had received confirmation that it had not been running since 1999, i.e. the last millennium! The first thing I did was to order a service kit containing timing belts, oil filter, spark plugs, fuel filter and a few other goodies. I also discovered that the clutch did not work and that all the hydraulic fluid had run out. I decided to start with the clutch. It should be fixed quickly. The lowest point was the slave cylinder so I suspected the problem was there. A little Googling showed that the slave cylinder was a weak point. A repair kit for the slave cylinder was bought and now it was just a matter of getting started. The slave cylinder is very easily accessible and was disassembled easily with three screws. It was a little harder to get the piston itself out of the slave cylinder as everything was quite oxidized. In addition, the air nipple broke when I tried to detach it from the lower banjo coupling. In the meantime, I ordered a few more parts, including a chain & sprocket kit from Italia Bike Center in Arboga.
I also ordered a new banjo bolt and air nipple and then they had a suggestion. Replace the o-ring in the repair kit with an o-ring from a Caterpillar, it lasts ten times longer. Said and done, they had to add a Caterpillar original part in the delivery together with the chain & sprocket kit. The O-ring was yellow and matched the colour of the bike perfectly!

Now it was just a matter of assembling everything and bleed the system to make it work, I thought. I have had some bad luck before with hydraulic systems and this time was no exception. The best way to bleed is to suck out the air backwards, ie at the newly purchased air nipple on the banjo bolt down by the slave cylinder. I filled hydraulic fluid up at the clutch lever and connected a vacuum pump to the nipple. Nothing happened. I pumped frantically, but no matter how hard I pumped, nothing happened. I suspected something was wrong with the vacuum pump and ordered a new one. Now it would finally work. But, no, nothing happened now either. I disassembled the liner between the clutch lever (main cylinder) and the slave cylinder and poked steel wire into the banjo couplings to remove any debris. I reassembled everything. No difference. I connected a foot pump to the nipple to see if it bubbled in the container on the clutch lever. Not a bubble!
My thoughts were moved far back in time when a friend, I do not remember who, told me about how he or she had a similar problem that was caused by a stop in the liner itself due to a damage to the rubber. It sounded unlikely, but I disassembled the liner, put my mouth around one end and blew. It was stop! Ordered a new liner, mounted and bleeded. Finally I had a working clutch!
The next action was the rear brake. When I pressed the brake pedal, it was first stuck, then it suddenly came loose and the brake was on all the time so I could hardly turn the wheel. I searched for a repair kit for the caliper but found a new caliper for a few hundred SEK more. A new steel-wrapped brake hose was purchased and installed. The master cylinder received a restoration and after a long bleeding process that took a couple of hours, I had a perfectly functioning rear brake.
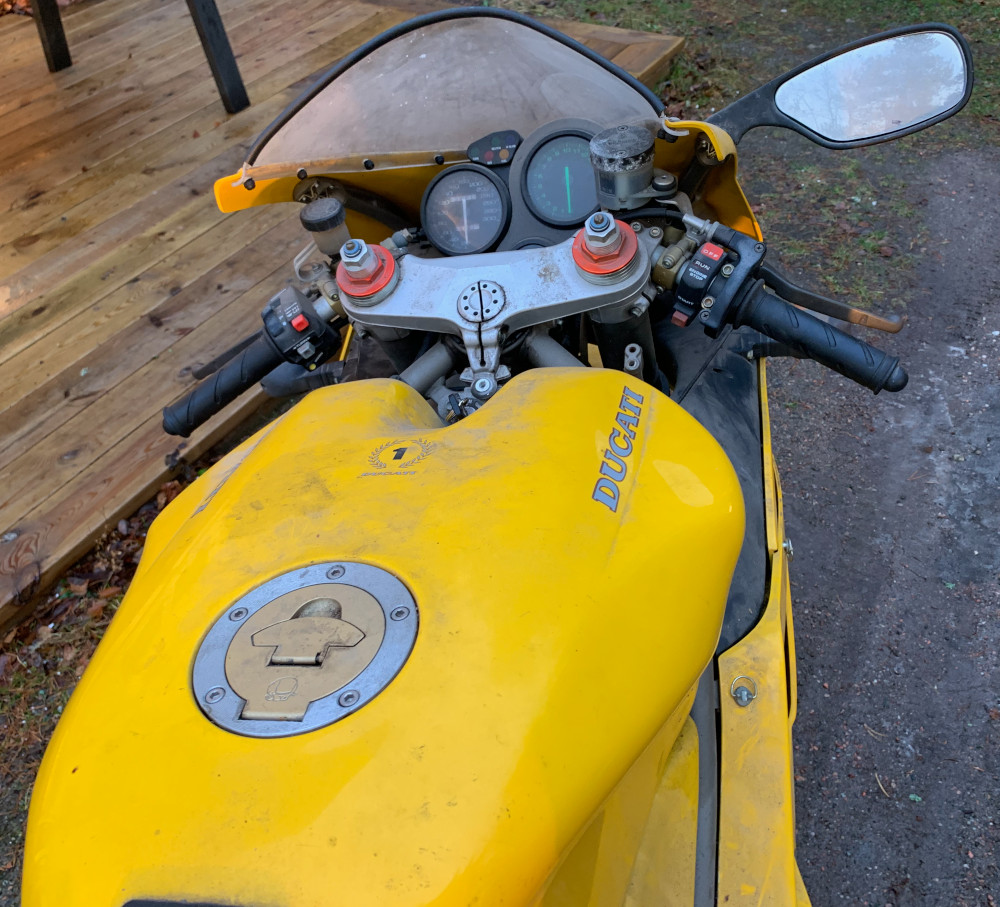
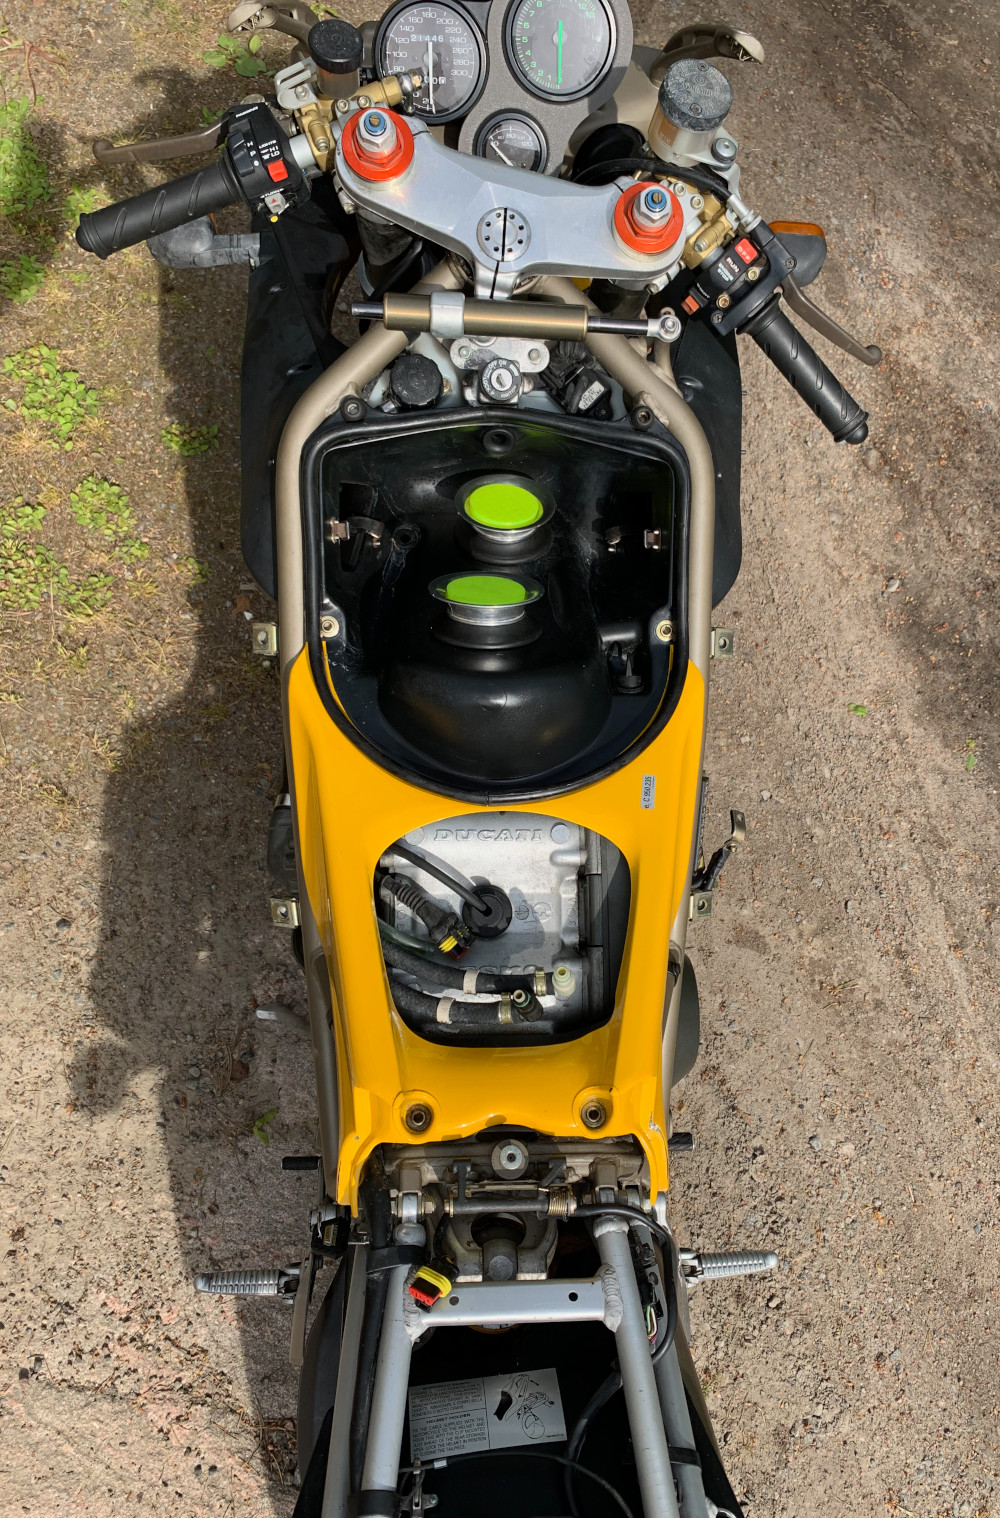
Then there were the timing belts. But first I had to remove the fairing and the tank. The fairing came off in a few minutes with it's quick fasteners. But how to remove the tank? I realized that the seat had to be removed first. I had not received a repair manual yet, but it can not be that difficult? I looked for screws but found none. I took help from Youtube and it was embarrassingly easy! The saddle had a lock and all you had to do was put the ignition key in the lock, unfold the saddle and remove two pins. With the seat off it was just one screw to remove in the back of the tank. The tank was pretty easy to remove after I emptied it from thirty-two year old petrol that did not smell good. I had never changed the timing belts on a four-valve Ducati before, so even here I took help from Yotube clips that made the job quite easy. The old belts were so dry and hard that they kept the shape of how they sat when I took them off.
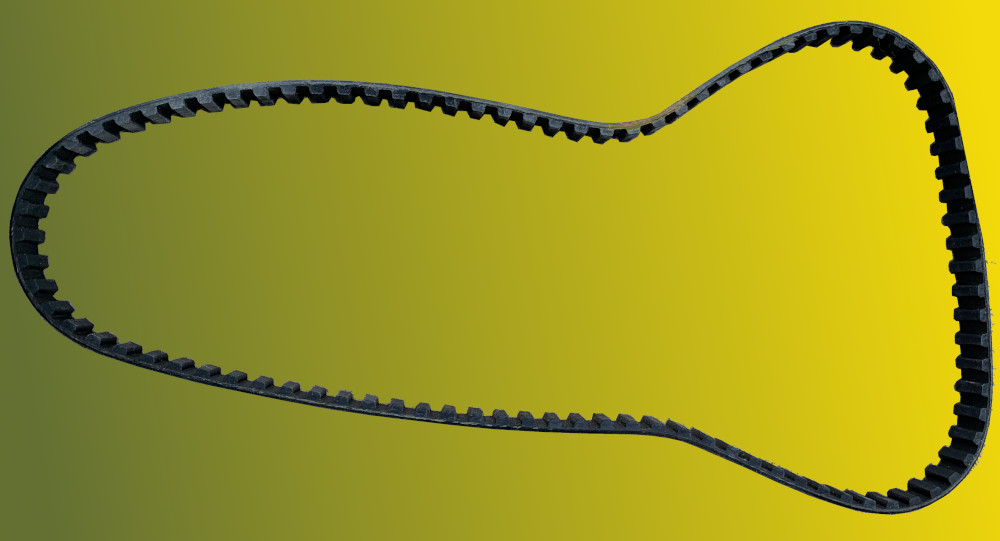
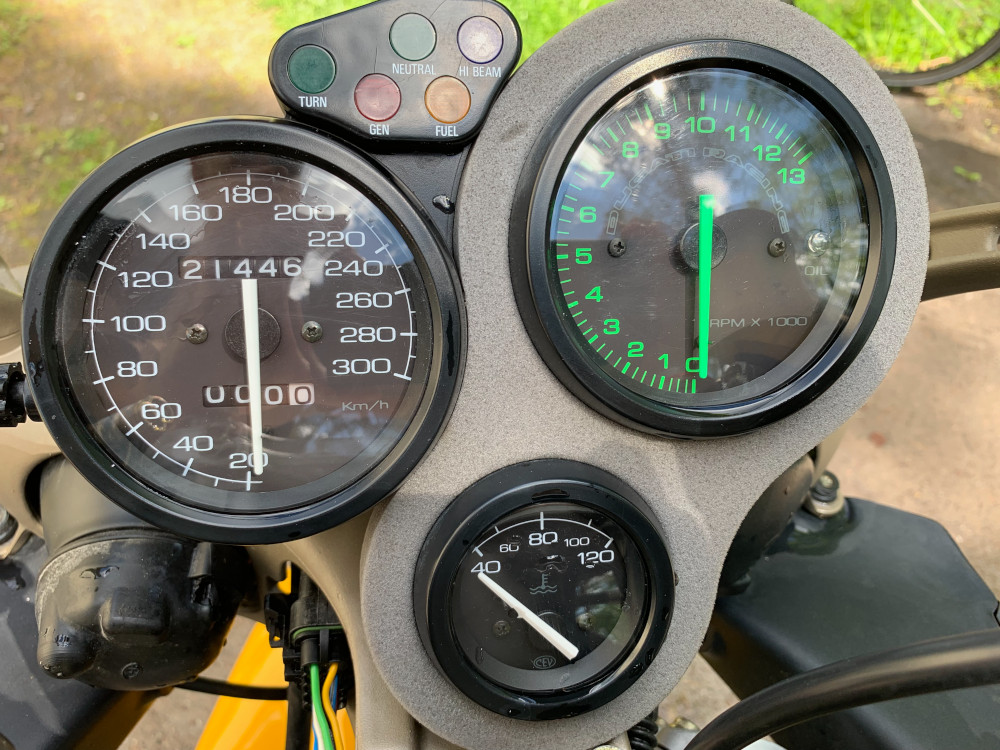
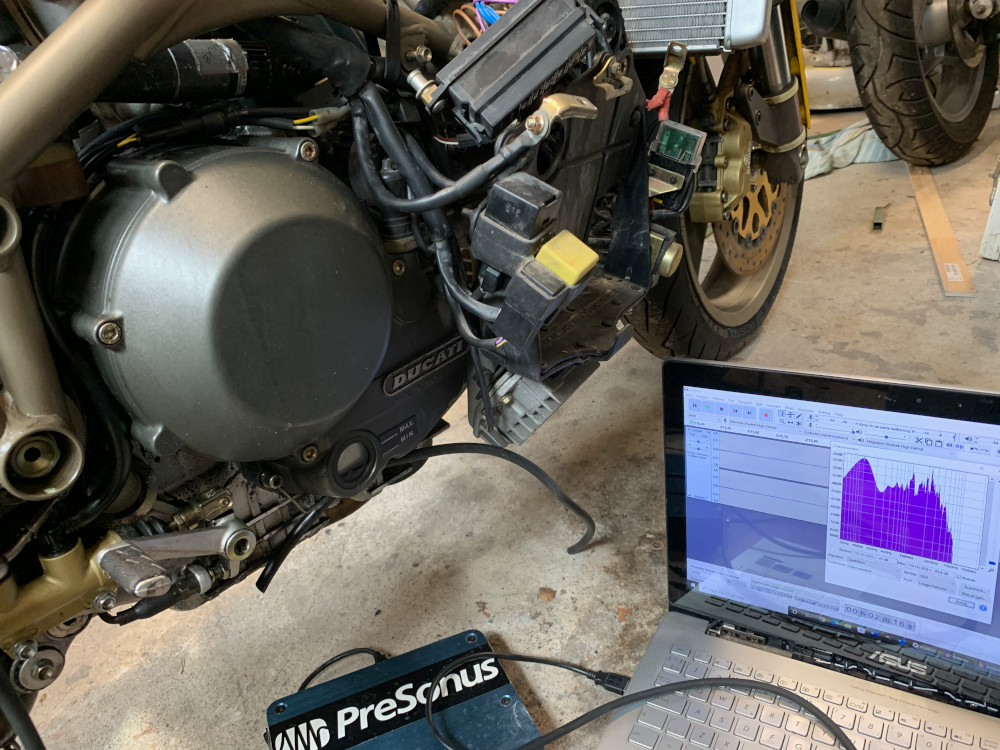
Then it was time to tune the new timing belts. Yes, you read that right, on a Ducati 748, the timing belts should be tuned to low A in a musician’s language, 110 Hertz in a technician’s language. How do you do it? I tested different apps in the phone while I "played" on the timing belts with and without a guitar pick. The results felt unreliable. So I brought out the music equipment, a Shure SM57 microphone and the audio recording program Audacity which you can download for free from the web. The microphone was placed close to each belt and I started playing the timing belt until I achieved a wonderful swing. When I stopped recording, I selected a fine pulse and marked the tail on the pulse and chose to show the spectrum. A nice graph was presented and I could finally end up at around 110 Hertz. It’s funny how music and mechanics can go together
When the tank already was off, I removed the aluminum plate under the tank to change the fuel filter. I also took the opportunity to change the fuel lines on both sides of the filter. Luckily, the tank looked pretty fresh inside. However, there is some rust under the fuel cap that needs to be fixed. The more than twenty years old Michelin tires had to give way to a pair of fresh and stylish Pirelli Diablo Rosso III, what else?
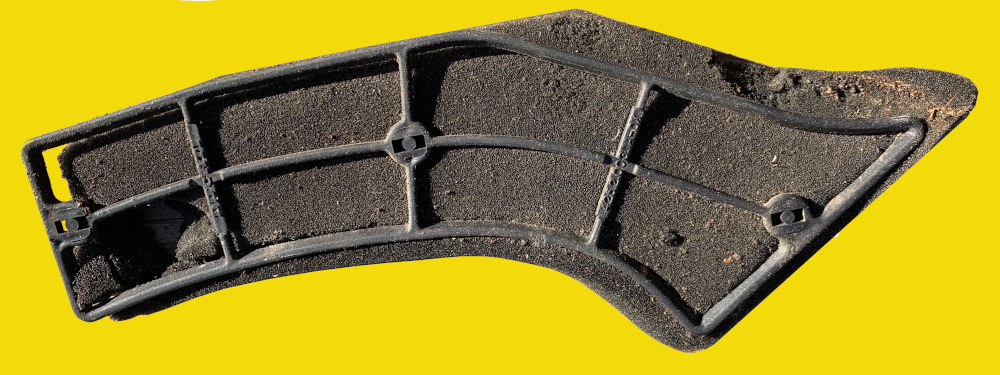
The air filters was, to say the least, in need of replacement. The foam-like material was literally pulverized as soon as it was touched.
The Chain and sprockets needed to be replaced. A tooth was missing on the rear sprocket strangely enough. Most of the parts on this bike is quite accessible. The front sprocket was the same as on my Alazzurra. Two screws that hold the sprocket against a locking washer against a groove in the splines of the output shaft. Easy! The rear sprocket was a bit more tricky. You loosen it easily with the giant nut on the opposite side of the wheel nut. Then you get rid of both the sprocket and the rubber dampers. However, it was not as simple as it should be as some oxidation meant that some force had to be used to loosen it. Then it was just a matter of loosening a few nuts so you could separate the sprocket from the rubber dampers. Now it should just be to mount the new sprocket, but no. In the center of the sprocket is a spacer ring pressed in whose only task is to reduce the diameter of the center hole. Using a large sleeve, I was able to knock the spacer ring out of the old sprocket and put it in place in the new one. Wondering how they come up with that solution?
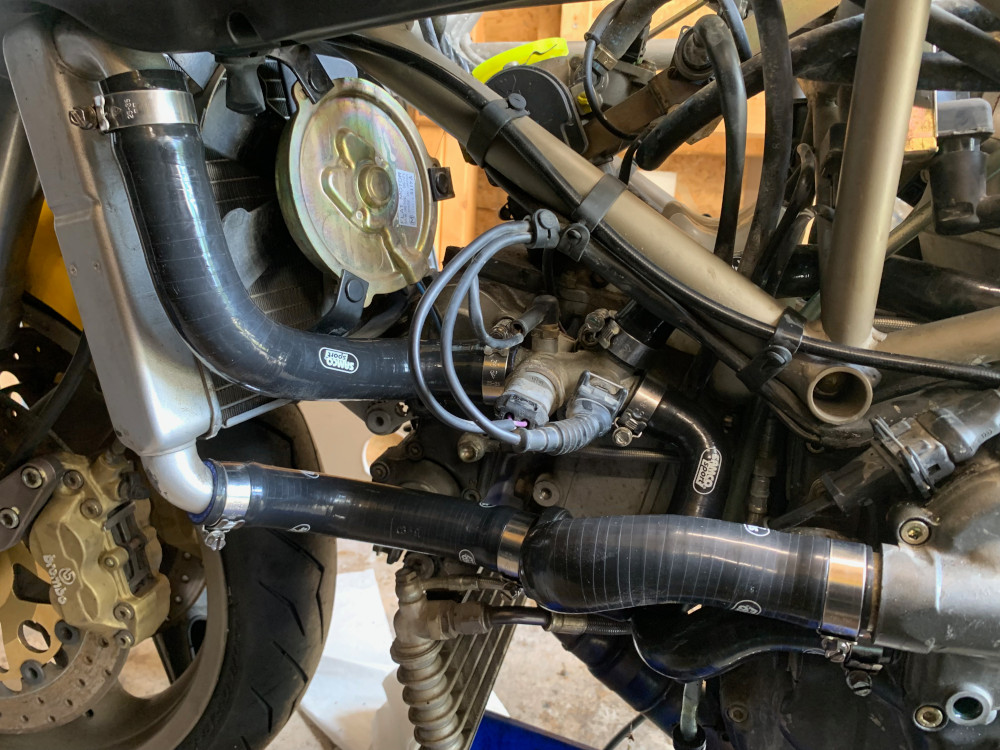
A set of new cooling hoses in silicone were purchased and replaced the old ones. Now there was not much left to do. Change oil, top up coolant, refuel and do some small fixes. Then it would be up and running. But even simple things can take time. When I should put the air box, which is located under the tank, I would take the opportunity to change a gasket that seals between the air box and the tank. It should take a few minutes. The gasket, made of rubber, is attached with about twenty hubs that are pressed into small holes in the air box. When I was going to remove the old one, it turned out that it was also glued in some places with some super glue. I tried spirits and acetone, but no bite on the rock hard glue. It was to scrape glue for several hours before it became reasonably good. Then it was ready to put in the new gasket, I thought. It was twice as thick and the hubs were significantly thicker than the holes they were going to go into. A quick googling explained that it was a product improvement. I had to drill up the twenty or so holes and soon the new gasket was in place.
A new battery was acquired, an AGM battery that has better capacity than an old wet cell battery. An advantage is that they can then be made smaller and lighter. A disadvantage is that they do not fit where the original battery was without modifications. The solution was to buy an adapter, a Ducati original part with article number 82912701A. The battery also had to be mounted inside out to get plus and minus in the right direction. What remained was to keep the battery in place at the top. I downloaded the free software Autodesk Fusion and designed a holder which I then left to a friend who has a 3D printer. The result looked fine!
After I changed the brake fluid to the front brake and the oil in the engine, I decided not to do more. I left the valve clearance and also left the oil in the front fork. It may be next winter's project.
Then the big day attrived. The tank was washed thoroughly on the outside before it was put in place. I filled it up with petrol, turned on the ignition and pressed the start button….
The starter motor spun nicely. The lights worked. Even a turn signal started flashing. But not a hint of life in the engine. I took out a spark plug. Snuff dry. Started the starter motor. Spark! Put the spark plug back. Gave a splash of petrol in each inlet funnel. Pushed The starter button. The engine started… for three seconds. As everything was changed inside the tank and the fuel pump clearly worked with a buzzing sound, the fault was either in the fuel lines or in the injectors. I removed the fuel lines and found that they were filled with fresh fuel. Everything indicated that the injectors were clogged. It was not strange since they had been standing with old petrol for almost twenty-three years!
It was just a matter of removing the saddle, tank and air box again to access the injection system. I handed in the entire intake manifold with injectors to a company nearby and I also took the opportunity to order new petrol lines. After a bit of ultrasonic cleaning, the injectors were back to life and it was just a matter of putting everything back in place.
On July 9, 2022, it was finally time to try again. I put the tank in place, without fasten it to be able to adjust the level in the coolant (which I deliberately filled a little too much in case there was any void in the system that would make the level sink). I pressed start and after a few seconds she was alive again, after 23 years at rest! The joy, however, lasted only half a minute and then she died again. Ah, I had not refueled! Refueled and tested again. However, it did not go better this time. Lifted the tank a bit and one of the petrol lines went out of its quick coupling. I had obviously not pressed it in properly. Now she started immediately and I let the engine go up in temperature to see that everything worked. It did and the cooling fan started when it should. The only thing that did not work was the new holder for the battery which bent from the heat and had to be replaced by a strap. After draining some coolant, all I had to do was assemble it.
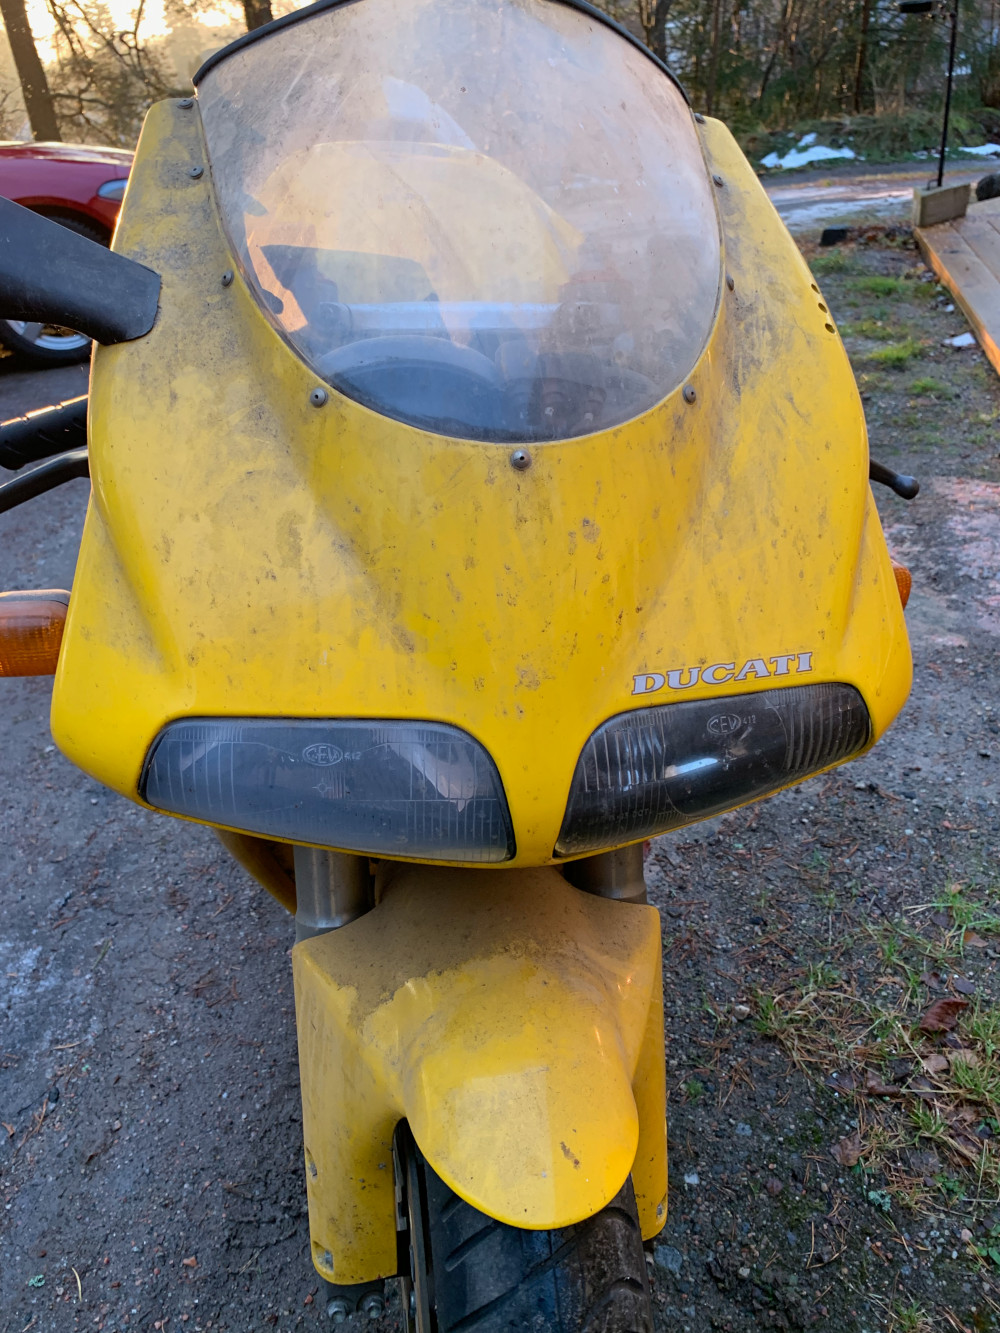
The next day it was a short test ride of just 14 km’s. I could state a few things. It's not as uncomfortable as I thought. The steering, suspension and brakes are probably the best I've felt! It snorted a bit when I went through town as a protest to be allowed to let loose a bit. I did it, let it loose little, and what a feeling! One thing had to be fixed when I got home: the turn signal button. It was so sluggish that it was barely possible to move. Once it the turn signal started flashing, it was barely possible to get it off. It was easily fixed with a little 5-56. Otherwise, I had previously discovered that the light bulb for the low beam was missing. A new one was ordered and then it was just a matter of assembling it. An operation of a maximum of ten minutes I believed. It would have been if the cable to be connected had not been about two centimeters too short. I had to disassembly the fairing and the operation took one hour before it was in place. Now it was ready for MOT, the first in twenty-five years!
First some background facts. This bike was registered in Sweden on May 23, 1995. Then it was sold by Biscaya Motor, in Hol outside Alingsås, on June 8 to the brother of a colleague of mine. On June 30, 1997, the bike was inspected for the first time. The inspection failed! Before Sweden joined the EU, we had some strange regulations and in this case the impact was due to the lack of a mudguard that had to go all the way down to in line with the wheel axles. On July 29 of the same year, the owner had apparently added a mud flap and the bike went through the inspection. Now, 25 years later, July 15, 2022, it's time for the next inspection.
I drove to a MOT station in Nyköping and it failed the test! Well, it was not that bad. It was just a broken bulb for the license plate lightning I could fix without re-inspection. After twenty-three years, she is back in traffic!